Recent Post

Eye Chest Locations Hogwarts Legacy Complete Collection Guide ...
Navigating the magical realm of Hogwarts Legacy requires plenty of Galleons for purchasing gear recipes, broom upgrades, and essential potion ingredients. Tracking down distinct eyeball containers is one of the most lucrative ways to build up your character's wealth early in the campaign. Each container awards a substantial payout of 500 gold coins once opened.
How to Unlock and Open Eyeball Containers
Players will notice these strange containers reacting whenever a wizard approaches them openly. To open them successfully, you must gain access to stealth capabilities by completing the main library quest line alongside Sebastian Sallow.
Casting the Disillusionment Charm allows your character to blend into the surroundings and stay completely invisible. Sneak up quietly while remaining out of the container's direct line of vision to collect your reward.
Key Eyeball Container Locations Inside Hogwarts Castle
Hogwarts Castle features numerous hidden containers positioned near prominent Floo Flame travel points across multiple wings. In the Library Annex, you can discover one container tucked away in the basement of the Restricted Section. Another container rests down the spiral staircase inside the lush Greenhouses area.
Moving toward the Astronomy Wing, students can find a container placed within the bathroom right next to Professor Fig's Classroom. Head over to the Bell Tower Courtyard and climb the nearby stone stairs to locate another container at the end of a narrow corridor. Additional containers lie near the Kelpie Statue in the Lower Grand Staircase and along the ramparts near the Hogwarts North Exit.
Finding Hogsmeade Village Eyeball Containers
Hogsmeade Village contains a high concentration of containers hidden around shop perimeters and quiet alleyways. A quick search behind Hog's Head tavern or underneath the wooden bridge between J. Pippin's Potions and The Magic Neep yields easy gold. Another container sits in the back corner of the northern cemetery behind a stone crypt.
Explorers can also check interior business spaces, including Gladrags Wizardwear and the Dogweed and Deathcap shop. Finding these village locations offers an immediate influx of cash for purchasing expensive gear upgrades.
Tips for Maximizing Your Gold Farming Efficiency
Combining container hunts with general exploration ensures your inventory stays well-funded throughout your playthrough. Keep track of Floo Flame fast-travel points to drastically reduce the travel time required between major castle wings and village shops.
Always activate the stealth spell before turning corners in areas known for containing these watchful chests. Consistent gold accumulation makes it far easier to afford necessary spellcrafts, seeds, and equipment throughout your Hogwarts adventure.
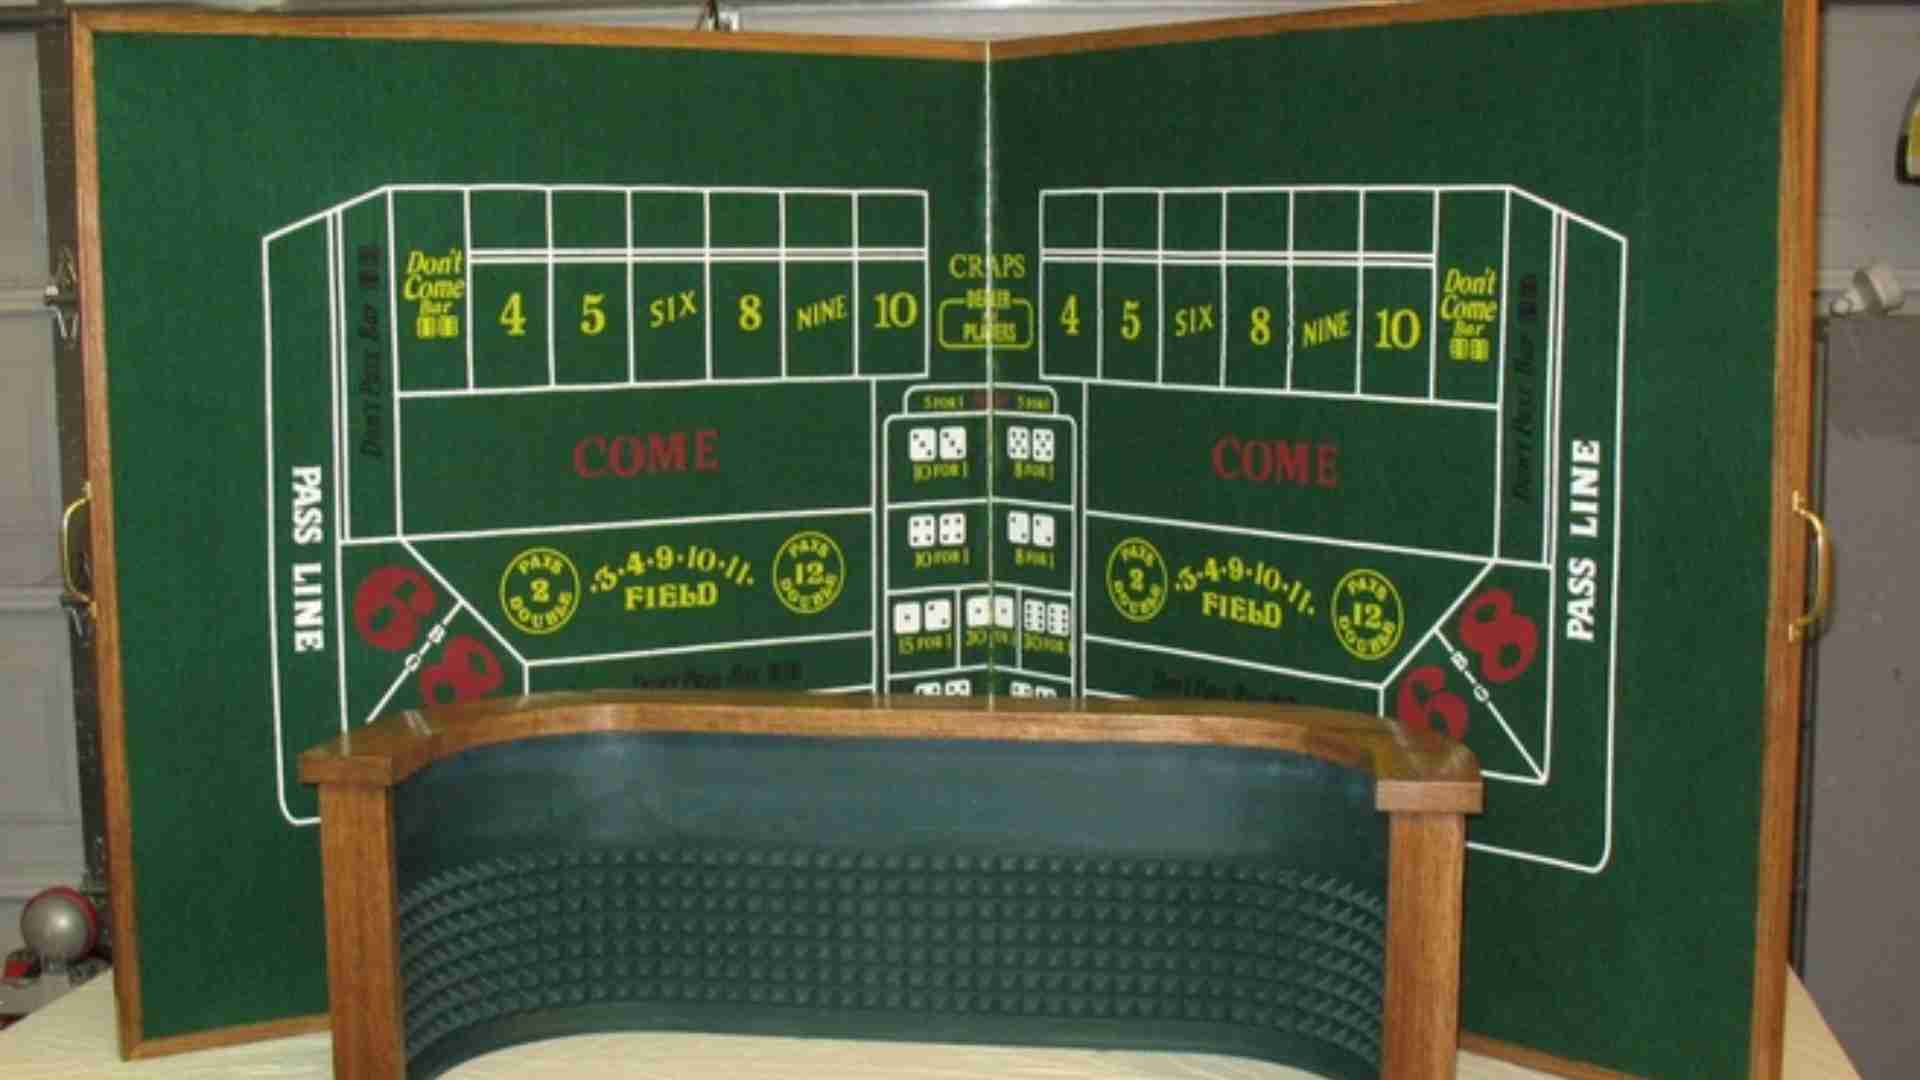
How To Charge Xbox Controller Methods For Different Controller Models ...
Keeping your Xbox controller powered up is essential for maintaining uninterrupted gaming sessions across different console generations. Because Microsoft has released multiple gamepad iterations over the years, charging methods vary significantly based on the specific model you own. Understanding how to properly charge your hardware ensures optimal battery health and longer gameplay time.
Charging Standard Wireless Xbox Controllers
Standard Xbox Wireless Controllers for Series X|S and Xbox One rely on removable AA batteries by default. To make these controllers rechargeable, players can install a official Xbox Play & Charge Kit or compatible third-party rechargeable battery pack. Once installed, connect a USB cable directly from the controller port to your powered console or a standard USB wall adapter.
Older Xbox One controllers feature a Micro-USB port, whereas Xbox Series X|S controllers use a modern USB-C connection. Plugging in the cable allows the internal battery pack to charge while you play or while the console rests in standby mode. Standard disposable AA batteries cannot be recharged through the USB cable and must be replaced when depleted.
Charging Xbox Elite Series Controllers
The premium Xbox Elite Wireless Controller Series 2 features an integrated internal rechargeable battery rather than a removable battery door. Players can charge this gamepad by connecting a USB-C cable directly to the top port of the controller. Alternatively, you can place the controller onto its included magnetic charging dock for a convenient wireless setup.
This charging dock can sit on your desk or remain inside the carrying case via the built-in cable passthrough port. The front Xbox button illuminates with a gentle pulsing light to signal that power is actively transferring to the device. Once fully charged, the light stops pulsing to indicate the battery has reached its full capacity.
Using Charging Docks and External Battery Packs
Third-party dual charging stations offer an efficient solution for households managing multiple controllers simultaneously. These stations typically include custom battery covers with metal contact pins that align directly with the dock's charging slots. Placing the controller onto the stand initiates charging automatically without requiring any cable plugging.
If you prefer external rechargeable AA batteries, you must remove them from the gamepad to charge them in a dedicated wall unit. This approach provides instant battery swaps so you never need to attach a physical cable during intense gaming sessions. Using high-capacity NiMH rechargeable batteries offers excellent runtime for long gaming marathons.
Best Practices for Maintaining Battery Life
To extend the overall lifespan of your controller batteries, avoid leaving them connected to chargers for extended periods after reaching full capacity. Unplugging power sources once the battery is topped off prevents heat buildup and chemical degradation over time. Keeping your controllers in a cool, dry environment also protects internal battery cells from thermal stress.
Additionally, adjusting your controller vibration settings within the Xbox system menu can conserve significant amounts of energy per session. Turning off haptic feedback reduces overall power drain during long play sessions. Updating your controller firmware regularly ensures power management features operate with maximum efficiency.

Free PS5 Games For Kids And Family Friendly Picks ...
Finding high-quality entertainment for younger audiences on modern gaming consoles does not always require a large financial investment. The PlayStation 5 host library offers several engaging experiences that are safe, accessible, and suitable for players of all ages. Parents looking for cost-effective gaming options can easily find titles that encourage creativity, cooperation, and gentle competition.
Pre-Installed Delights and Built-In Experiences
Every PlayStation 5 comes equipped with built-in content designed to showcase the platform's hardware features while delivering wholesome fun. Games like Astro's Playroom offer an ideal entry point for younger players learning basic mechanics and controller layouts. Because it is included directly on the console system, families can enjoy an instant platforming adventure without spending extra money.
This pre-installed experience provides intuitive platforming challenges and colorful environments that keep children entertained. It serves as a gentle introduction to gaming without the pressure of complex menus or stressful scenarios.
Popular Free-to-Play Multiplayer Titles
Families seeking lively multiplayer options can turn to accessible free-to-play titles available on the digital store. Games such as Fall Guys provide energetic obstacle course action that relies on silly physics and lighthearted gameplay. These experiences do not require a paid PlayStation Plus subscription, allowing kids to jump online and play safely with friends.
For those interested in creative sandbox titles, Roblox offers a broad selection of community-generated mini-games. Parents can set up parental controls to ensure safe interaction while kids explore diverse virtual spaces.
Family-Friendly Picks via Subscription Services
Subscribing to gaming services expands the catalog with additional child-friendly titles tailored for shared screen time. Games like Sackboy: A Big Adventure offer cooperative platforming where parents and children can complete levels together. Cooperative mechanics emphasize teamwork, making it easier for older family members to assist younger gamers.
Titles starring popular media characters, such as PAW Patrol World and Bluey: The Videogame, offer easy-to-understand goals and gentle pacing. These games provide familiar settings that make early gaming sessions both comforting and educational.
Tips for Managing Safe Gaming Sessions
Creating a safe environment for younger players involves utilizing the built-in system controls available on the console. Parents can easily restrict online communication, limit spending on microtransactions, and establish daily screen time limits. These settings help maintain a healthy balance between digital play and daily family routines.
Evaluating content ratings and player reviews ensures that each downloaded title matches the maturity level of the child. By taking advantage of free offerings and setting appropriate boundaries, families can enjoy the full value of their entertainment system.

Is The Invincible Comic Finished And Complete Story Status ...
With the global success of the animated adaptation, many new fans are turning their attention to the original source material to discover how Mark Grayson's journey unfolds. A common question among readers is whether the printed series is officially concluded or still ongoing in publication. Understanding the current status of the comic series helps fans set clear expectations before diving into the multi-volume superhero saga.
The Official Conclusion of the Comic Series
The original graphic novel series created by Robert Kirkman officially reached its planned conclusion in early 2018. The narrative wrapped up definitively with issue #144, providing a conclusive ending to the main storylines. Unlike traditional superhero comics that continue indefinitely, this series was intentionally designed to tell a complete, self-contained story from start to finish.
Understanding the Scope of the Final Arc
The final issues of the series feature significant time jumps that show the long-term impact of Mark's choices across the galaxy. Readers witness the resolution of major conflicts, including the evolution of the Viltrum Empire and the fate of key allies. The narrative concludes hundreds of years in the future, giving fans a definitive and emotionally fulfilling sense of closure.
Future Possibilities and Expanding Lore
Although the primary series has finished, creator Robert Kirkman has noted that the overall universe remains vast and filled with unexplored potential. While no direct continuation of the main title is currently underway, spin-off titles and side characters occasionally receive attention. For fans following the television adaptation, knowing the comic is complete offers reassurance that the show has a full, cohesive roadmap to adapt.

Black Ops 1 Zombies Kino Der Toten Map Features And Strategies ...
Kino Der Toten remains one of the most celebrated maps in Call of Duty: Black Ops Zombies history due to its balanced layout and accessible mechanics. Set in an abandoned theater, it serves as the perfect entry point for newcomers while offering plenty of strategic depth for veteran players. Understanding how to navigate its rooms and utilize its key features is crucial for surviving into higher rounds.
Navigating the Theater Layout and Power System
The layout of Kino Der Toten forms a continuous loop that connects through various rooms leading to the main stage. Activating the power on the stage is your primary objective, as it enables essential traps, perk machines, and the map's teleportation system. Clearing obstacles efficiently allows your team to maintain mobility and avoid getting trapped in tight hallways.
Opening doors selectively helps control the flow of zombies during early rounds. Many players prefer opening the upper route through the alleyway or the lower route through the boiler room depending on their weapon preferences. Keeping certain doors closed provides safe camping spots and easier escape routes during critical moments.
Mastering the Teleporter and Pack-a-Punch
The teleporter located on the stage is the central mechanism for upgrading your weaponry in Kino Der Toten. Linking the teleporter to the mainframe in the lobby grants access to the projection room, where the Pack-a-Punch machine resides. This temporary safe haven allows players to enhance their firepower while throwing grenades down at the horde below.
Using the teleporter also drops players into hidden rooms containing bonus power-ups and film reels that expand the game's lore. Utilizing this feature during emergency situations offers an immediate escape route when overwhelmed by zombies. Timing your teleporter trips carefully ensures that you maximize both defense and weapon enhancements.
Effective Training Strategies and Stage Control
Running circles or "training" zombies on the main stage is the most reliable high-round strategy in Kino Der Toten. The vast open area around the podium gives players ample space to group up undead hordes into manageable lines. Using weapons like the Thundergun or Pack-a-Punched ray guns makes clearing these large groups remarkably efficient.
Communication is essential when sharing the stage area with teammates to prevent overlapping paths and unexpected collisions. Keeping the stage clear of unnecessary debris ensures smooth movement throughout long survival sessions. Utilizing the stage fire trap also conserves ammunition while eliminating massive waves of enemies safely.
Managing Special Rounds and Perk Selection
Crawler zombies, known as Nova 6 crawlers, introduce unique challenges by exploding into toxic gas clouds upon death. Eliminating them from a distance prevents vision impairment and movement penalties that could leave you vulnerable. Priority targeting during these encounters keeps your survival route clear and free from hazardous obstacles.
Securing essential perks such as Juggernog, Speed Cola, and Quick Revive dramatically increases your odds of survival in later rounds. Balancing your points between perk purchases, mystery box spins, and wall weapon refills creates a sustainable economy. Proper resource allocation ensures you remain fully equipped to handle escalating difficulty levels seamlessly.

Black Ops 1 Zombies Kino Der Toten Map Features And Strategies ...
Kino Der Toten remains one of the most celebrated maps in Call of Duty: Black Ops Zombies history due to its balanced layout and accessible mechanics. Set in an abandoned theater, it serves as the perfect entry point for newcomers while offering plenty of strategic depth for veteran players. Understanding how to navigate its rooms and utilize its key features is crucial for surviving into higher rounds.
Navigating the Theater Layout and Power System
The layout of Kino Der Toten forms a continuous loop that connects through various rooms leading to the main stage. Activating the power on the stage is your primary objective, as it enables essential traps, perk machines, and the map's teleportation system. Clearing obstacles efficiently allows your team to maintain mobility and avoid getting trapped in tight hallways.
Opening doors selectively helps control the flow of zombies during early rounds. Many players prefer opening the upper route through the alleyway or the lower route through the boiler room depending on their weapon preferences. Keeping certain doors closed provides safe camping spots and easier escape routes during critical moments.
Mastering the Teleporter and Pack-a-Punch
The teleporter located on the stage is the central mechanism for upgrading your weaponry in Kino Der Toten. Linking the teleporter to the mainframe in the lobby grants access to the projection room, where the Pack-a-Punch machine resides. This temporary safe haven allows players to enhance their firepower while throwing grenades down at the horde below.
Using the teleporter also drops players into hidden rooms containing bonus power-ups and film reels that expand the game's lore. Utilizing this feature during emergency situations offers an immediate escape route when overwhelmed by zombies. Timing your teleporter trips carefully ensures that you maximize both defense and weapon enhancements.
Effective Training Strategies and Stage Control
Running circles or "training" zombies on the main stage is the most reliable high-round strategy in Kino Der Toten. The vast open area around the podium gives players ample space to group up undead hordes into manageable lines. Using weapons like the Thundergun or Pack-a-Punched ray guns makes clearing these large groups remarkably efficient.
Communication is essential when sharing the stage area with teammates to prevent overlapping paths and unexpected collisions. Keeping the stage clear of unnecessary debris ensures smooth movement throughout long survival sessions. Utilizing the stage fire trap also conserves ammunition while eliminating massive waves of enemies safely.
Managing Special Rounds and Perk Selection
Crawler zombies, known as Nova 6 crawlers, introduce unique challenges by exploding into toxic gas clouds upon death. Eliminating them from a distance prevents vision impairment and movement penalties that could leave you vulnerable. Priority targeting during these encounters keeps your survival route clear and free from hazardous obstacles.
Securing essential perks such as Juggernog, Speed Cola, and Quick Revive dramatically increases your odds of survival in later rounds. Balancing your points between perk purchases, mystery box spins, and wall weapon refills creates a sustainable economy. Proper resource allocation ensures you remain fully equipped to handle escalating difficulty levels seamlessly.

Judge Cleric The Radiant Sentinel Boss Strategy And Weaknesses ...
Judge Cleric, the Radiant Sentinel stands as one of the most formidable challenges encountered late in Lords of the Fallen. Mastering this two-phase encounter requires a clear understanding of her evolving attack patterns, elemental shifts, and key defensive vulnerabilities. By adjusting your build and maintaining strict positioning, you can effectively overcome this holy warrior.
Understanding the Dual Phase Mechanics
The encounter begins with Judge Cleric wielding a holy polearm and deploying fast melee combinations alongside Holy magic. During this first stage, her moves are highly rhythmic and telegraph predictable melee chains. Successfully dodging through her strikes allows players to punish her short recovery windows.
In her second phase, Judge Cleric transforms into a corrupted Inferno entity with wide-reaching area-of-effect spells. Her attacks become significantly more aggressive, featuring delayed explosions and fiery ground bursts. Keeping track of arena hazards while managing stamina is crucial for surviving this chaotic phase.
Exploiting Key Status Weaknesses
Despite her high resistance to Holy and Fire elements across both forms, Judge Cleric is exceptionally vulnerable to Poison and Bleed build-ups. Applying damage-over-time status effects allows players to constantly drain her massive health bar during long defensive periods. Utilizing poison grenades, specialized arrows, or status-infused weapons can make the fight dramatically easier.
Additionally, using the Umbral Lamp to Soulflay her during phase one creates massive stance damage opportunities. Positioning yourself close to her right hip while dodging inward minimizes the risk of taking heavy direct hits. These tactical adjustments consistently reward patient playstyles over reckless aggression.
Optimal Gear and Buff Preparation
Preparing the proper defensive gear before entering the arena provides a massive advantage throughout the battle. Wearing armor pieces with high Holy resistance for phase one and switching focus toward Fire protection helps mitigate incoming magic damage. Equipping rings or pendants that bolster status resistance or increase posture damage will further tip the scales in your favor.
Managing consumable items such as Briostones and Mana Stones ensures you maintain continuous health and spell output. Staying patient and counting her swing counts before countering remains the safest path to victory. With proper preparation, defeating the Radiant Sentinel becomes a manageable and rewarding achievement.

Phasmophobia Brownstone High School Map Locations And Investigation Tips ...
Navigating the sprawling corridors of Brownstone High School in Phasmophobia presents a unique challenge for both novice and veteran ghost hunters. Featuring 67 individual rooms spread across two massive floors, finding the ghost room quickly is essential to preserving your team's sanity. Understanding the overall layout and leveraging efficient search strategies will transform this intimidating location into a manageable contract.
Understanding the Layout of Brownstone High School
Brownstone High School is classified as a medium-sized map, characterized by long, intersecting hallways and dozens of uniform classrooms. The main entryway opens directly into a central lobby leading toward the large gym and courtyard corridors. Because of its vast footprint, player movement and gear logistics require careful planning before stepping through the front doors.
Key areas on the main floor include the main lobby, cafeteria, library, and dual locker rooms positioned near the gymnasium. The second floor primarily consists of numbered classrooms and additional restroom facilities lined up along symmetrical hallways. Learning the general orientation of these wings helps investigators communicate locations accurately to teammates in the truck.
Key Map Locations and Item Spawns
In standard game modes, cursed possessions spawn conveniently near the main entryway to aid large-map exploration. Equipment such as the Music Box or Ouija Board can often be found sitting right inside the lobby area. Staging your primary equipment in this front hallway saves significant time compared to walking back and forth to the truck.
Subtle environmental cues often reveal the ghost's general location far faster than checking every room with a thermometer. Keep a close ear out for ringing phones, opening doors, or running water in the sink, as these sound events carry across long distances. Additionally, checking for doors left slightly ajar along the main corridors provides an immediate visual lead.
Effective Investigation Tips for Large Maps
Sweeping the high school systematically is far more effective than wandering aimlessly through random hallways. Equipping a parabolic microphone allows players to pinpoint distant audio interactions through walls before committing to a full room sweep. Turning on hallway light switches as you progress provides clear visual markers of cleared zones while preserving team sanity.
If you are playing with a full team, split up to cover the ground floor and second floor simultaneously. Having designated teammates monitor breaker locations ensures power can be restored immediately when popped. Once the ghost room is identified, establish an exit route using the nearest side door rather than relying on the long front entrance hallway.
Survival Strategies During Ghost Hunts
When a hunt initiates in Brownstone High School, open hallways offer long sightlines that make running dangerous. Standard classroom doors or bathroom stalls serve as immediate hiding options if you cannot break line-of-sight quickly. Avoid hiding inside the large basketball court or central lobby, as these wide spaces provide zero cover from a hunting entity.
Always maintain awareness of your nearest hiding spot while carrying evidence equipment into the ghost room. Ducking into a dark corner, turning off electronics, and remaining quiet will keep you safe during standard hunt durations. By combining vocal discipline with strong map knowledge, your team can clear Brownstone High School efficiently and safely.
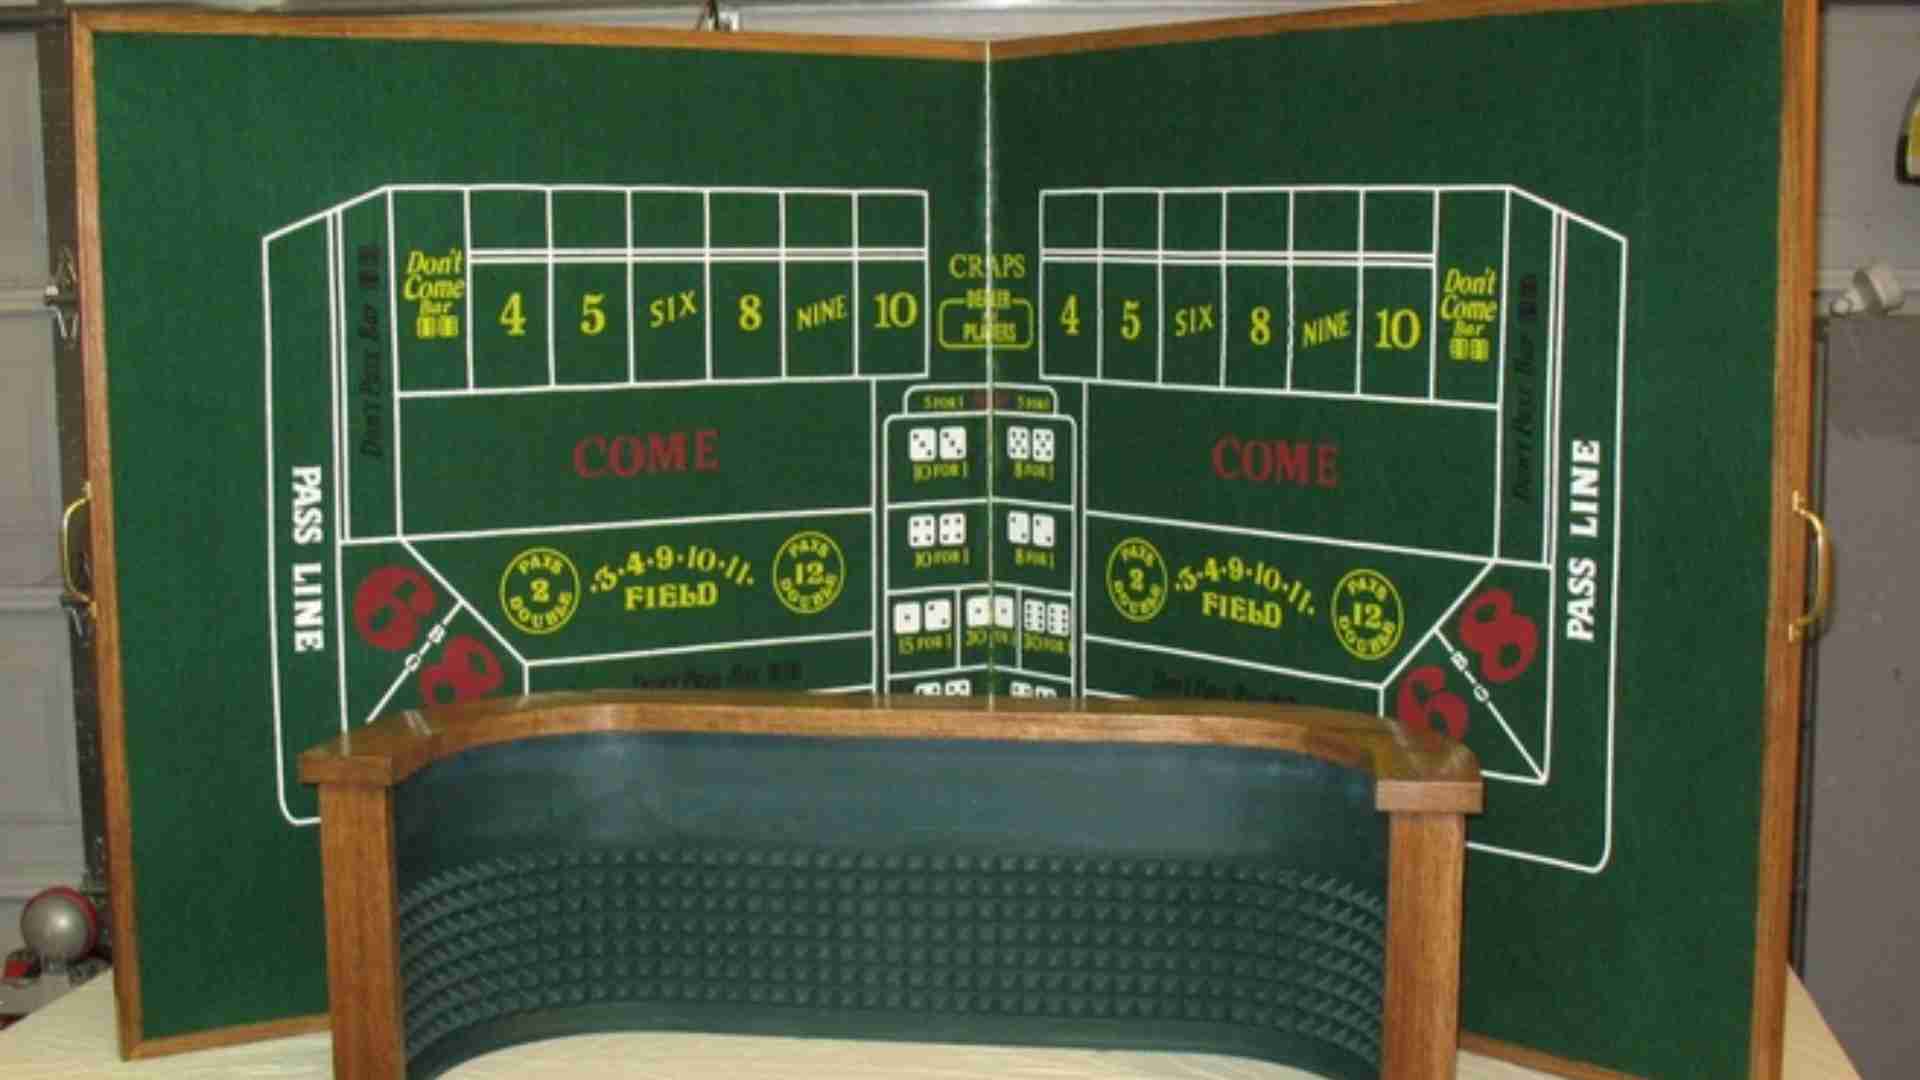
Betting on Golf Each Way and How Each Way Betting Works ...
Golf tournaments feature large player fields, making outright winner bets exceptionally challenging to predict consistently. Each way betting provides a structured alternative that allows sports enthusiasts to secure payouts even if their selected golfer finishes just short of victory. Understanding how this two-part wager operates is essential for building a flexible golf betting strategy.
The Two Components of an Each Way Golf Bet
An each way wager is split into two separate bets of equal stake amount. The first half acts as a standard outright win selection, while the second half functions as a place bet covering a predetermined number of top positions. If your chosen player wins the tournament outright, both portions of the wager yield returns.
When a golfer finishes within the designated place terms but fails to win, the place portion of the wager still pays out. This dual framework balances the higher risk of picking a tournament champion with a safety net for top performers. Analyzing sportsbook terms helps bettors recognize how place conditions impact overall returns.
Understanding Place Terms and Odds Reduction
Sportsbooks establish specific place terms before a tournament begins, typically covering the top five to eight finishing positions. The payout odds for the place portion are calculated as a fraction of the full win odds, usually one-quarter or one-fifth of the original price. Bettors should carefully review these terms before placing their stakes on competitive fields.
For instance, placing an each way wager on a golfer at long odds can deliver profitable returns even if the player finishes in fourth or fifth place. Platforms like m88 present clear market breakdowns to help bettors evaluate potential returns across different place structures. Comparing market offers allows fans to maximize value on longshot selections.
Dead Heat Rules and Tournament Ties
Ties are extremely common in professional golf events, which triggers the application of dead heat rules. When multiple players finish tied for the final remaining payout positions, the original stake on the place portion is divided proportionately by the number of tied competitors. This reduction directly alters the final payout calculation for the place portion of the bet.
Understanding dead heat adjustments prevents confusion when settlement amounts appear lower than expected. Bettors should account for potential field congestion on the final leaderboard during major championships. Factors such as course layout and weather conditions often influence how tightly packed the top leaderboard stays.
Strategic Advantages of Each Way Betting in Golf
The primary advantage of each way betting lies in risk mitigation across unpredictable four-day tournaments. With fields often exceeding 140 players, backing contenders each way yields consistent exposure to high-value odds without requiring a winner. This approach supports long-term bankroll management during long tournament seasons.
Evaluating player form, course history, and statistical trends like strokes gained approach enhances each way selection accuracy. Selecting consistent players who regularly finish inside the top ten maximizes the utility of each way markets. Integrating structured wagering methods leads to more sustained engagement and smarter decision-making.
What Does 2+ Bases Mean in Betting Explaining Baseball Player Prop Markets ...
Baseball prop markets have grown increasingly popular among sports fans looking for specific, in-game player outcomes beyond standard moneyline bets. One common selection encountered on modern wagering platforms is the 2+ bases proposition. Understanding how this market calculates total bases is fundamental for anyone evaluating batter performance lines.
Defining Total Bases in Player Props
In baseball player prop betting, the total bases metric measures the number of bases a batter earns exclusively through hit types. A single counts as one base, a double is worth two, a triple yields three, and a home run secures four bases. Predicting 2+ bases simply means the selected batter must accumulate at least two total bases during the game.
It is important to note that non-hit achievements do not contribute toward this statistical prop line. Bases gained through walks, hit-by-pitches, fielders choices, or defensive errors are excluded from the official calculation. Fans tracking lines across platforms like m88 login must remember that only official base hits count toward the final total.
How a Batter Can Cover 2+ Bases
A batter can fulfill a 2+ bases wager in a single plate appearance or across multiple hit opportunities throughout the match. Hitting a double, triple, or home run immediately satisfies the condition in one swing. Alternatively, a player who hits two individual singles over the course of nine innings also successfully satisfies the market requirement.
Because multiple paths lead to success, this prop offers flexibility compared to specific hit markets. A star hitter who fails to hit a extra-base hit can still cover the line by securing multiple singles. This flexibility makes analyzing player matchup history and recent swing form especially valuable.
Key Factors Influencing Player Base Props
Evaluating pitch matchups and stadium dimensions provides important context when analyzing base proposition odds. Left-handed batters facing right-handed starting pitchers often enjoy statistical advantages that increase their chances of extra-base hits. Additionally, ballpark factors such as outfield wall distances heavily influence power metrics.
Lineup placement also plays a significant role in determining how many official plate appearances a player receives. Batters positioned near the top of the batting order naturally get more opportunities to hit than those at the bottom. Monitoring starting lineups prior to game time helps ensure your chosen player receives maximum chances.
Strategic Value of 2+ Bases Betting
Prop betting on total bases allows fans to focus on individual athlete productivity rather than overall team victory. This market serves as an effective tool when a skilled hitter faces a struggling opposing pitcher. By focusing strictly on offensive output, bettors can bypass unpredictable bullpen meltdowns or team defensive errors.
Ultimately, clear understanding of official scoring rules ensures better analysis when navigating baseball player proposition boards. Recognizing what counts toward total bases helps fans approach player props with informed expectations and structured discipline.
Semua artikel sudah ditampilkan.